Last time, we looked at how genre informed book cover typography. For this installment, we are going to look at a novel’s content: story, mood, and theme. How can we use the content itself to hone in on typography decisions?
Great content to use for a book cover includes that which:
Aligns with the genre
Provides an element unique to the book
Is visually appealing/attention-grabbing
Plays a major role in the plot
We have a range of options available to us within the content of a novel and some of it can represent the novel well, but may not work as a cover. You can narrow down content by considering how it aligns with the points above.
The best way to explain how content informs typography is to look at a few of my book covers and explain the process. Keep in mind that I start out with a much more extensive content list when I first read a book. I will go over the boiled-down content that makes it to the final cover. Let's check it out!

Worlds Apart
Content: outer space, aliens, alien cities, space ships, pre-teen suburban characters, middle school
Mood: adventure, suspense, drama, wonder, loyalty, resilience
Themes: friendship, relationships, self-discovery, science and technology
Worlds Apartrequired a clean, minimal look to the text that is ideal for the sci fi genre. The wide, short characters of this particular font, "Excluded", strongly suggests fonts of popular sci fi adventure IPs like Star Wars. The content of the novel that could inform the typography needed to be subtle, so I went with creating a material effect on the letters. In this case, I made the letters look like neon tubing. It's bright, screams "sci fi", and makes direct reference to the content of the novel. The protagonist spends most of her time in a dense futuristic city on an alien planet, which is filled with neon signs. This concept will carry through each book in the series, with the title font staying the same, but changing material to reflect new alien worlds.

Buddy the Knight and the Queen of Sorrow
Content: stuffed animal characters, fairytale-like lands (dark castle), medieval objects and archetypes (swords, amulets, wizards)
Mood: classic, nostalgic, epic, adventure, suspense
Themes: friendship, courage, teamwork
Buddy reads like a classic fairytale about a brave knight and makes many mentions of chivalry and knighthood. This was a primary focus for the font and motif elements. The choice of using a decorative border motif, especially in gold, makes a direct reference to the beautiful gold foil on vintage books, including illustrated storybooks that often have a series of "vignettes" on the cover with scenes or characters. This partnered with the medieval feel of the serif font ("Yana") brings together the themes and mood of the novel. Delicate swashes, like the swoopy on the "W" fill out the negative space in the composition and adds a little extra decoration that you see in font choices for fairytale book covers. Also note the banner elements for the author name and in the title, which suggests heraldic flags. The content of the novel makes a more direct appearance in the border motif with the inclusion of the owl, which is one of the important stuffed animal characters.

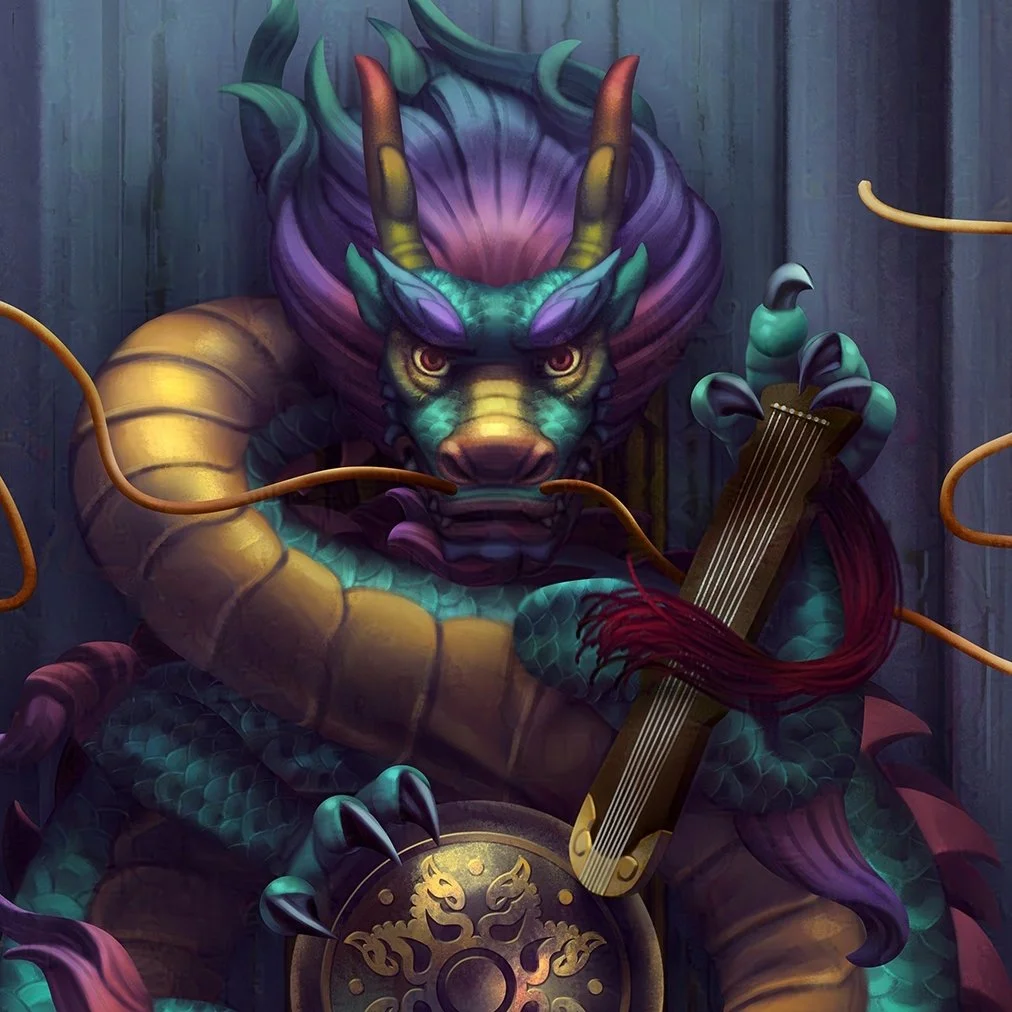
Princess Rouran and the Dragon Chariot of 10,0000 Sages
Content: Chinese mythological creatures (dragon Qiu niu), magic door, Chinese zither, Rouran Khaganate
Mood: philosophical, surreal, mystery, adventure, epic
Themes: time-travel, society and culture, teamwork, historic events, mythology
Princess Rouran is a YA novel with some relatively sophisticated topics, so I went with a delicate approach to incorporating the content of the novel into the typography. I used Trajan Pro 3 for the title, which is a great go-to for YA and adult fantasy. It has a scholarly feel that compliments the historical elements of the novel. I was able to add visual interest by using line-based decorative motifs that I found in pictures of ancient Chinese and Mongolian artifacts. The door knob features a more authentic motif to the Rouran Khaganate (a major setting), while the line motifs on the top and bottom are designs that can technically be found in the same region albeit at a later time period. The motifs bring in a cultural element while the clouds shapes suggest fantasy and mythology. An inner swoosh to the "O" in "Rouran" mimics the horn-like shapes in the motifs and is a small way to add whimsy to the minimal font.
New Canvas Prints


I have a new product that is truly the bee's knees. This is the first stretched canvas print that I've ordered and added to my Etsy store. It's signed and ready to hang without the need for a frame or plexiglass! Could a more perfect gift exist for your mushroom-loving friends?
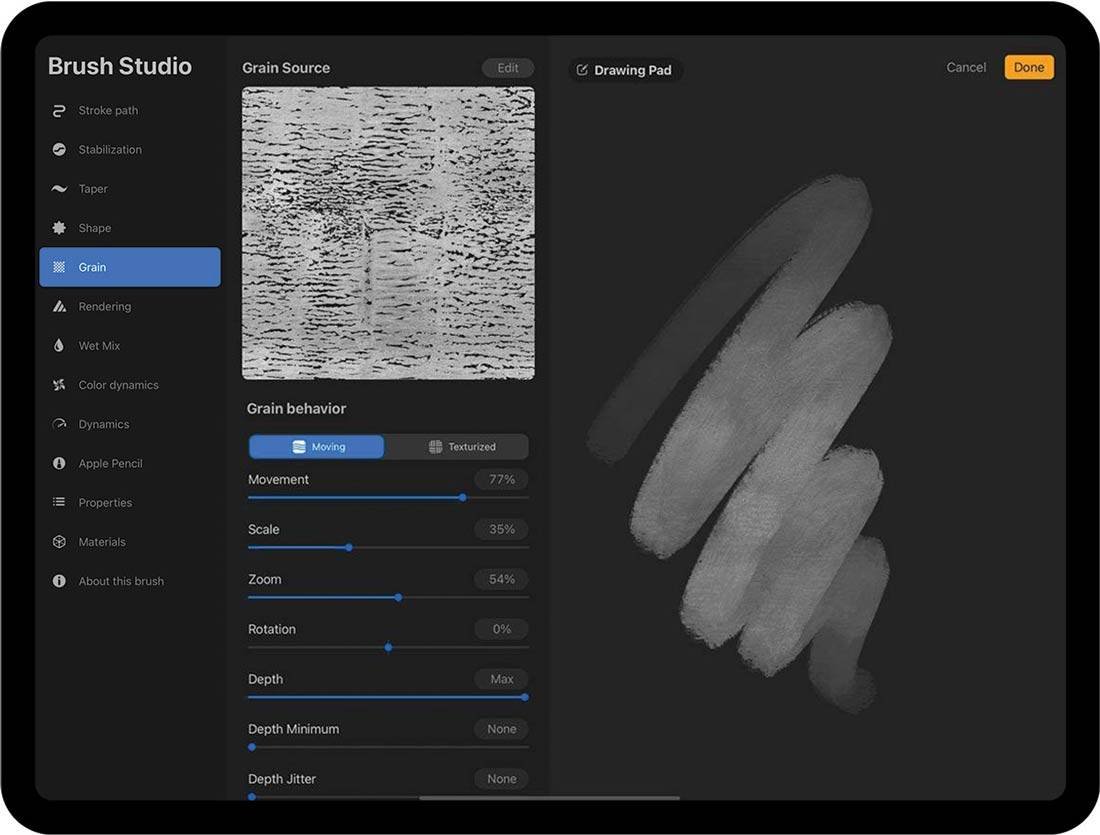
Stock image at top designed by Freepik