Photoshop has been around for more than a hot second and with it are a huge range of default brushes and add-ons. For anyone just starting to paint or draw in photoshop, the Basic Round Brush is the best to start with. Once you have a good handle on the round brush and understand how to adjust different brush settings, get experimenting. Figure out what traditional medium you gravitate toward (watercolor, oils, colored pencil), and that will inform your decisions on what brushes to use.
Less is more for your brush arsenal. There are brushes that can "stamp" finished shapes like flowers and eyes that you should avoid. Painting everything with the same one or two brushes will look more cohesive. Of the brushes I will talk about, the "Gouache Detail" brush in figure 1 is my main brush for roughly 70% of the time.

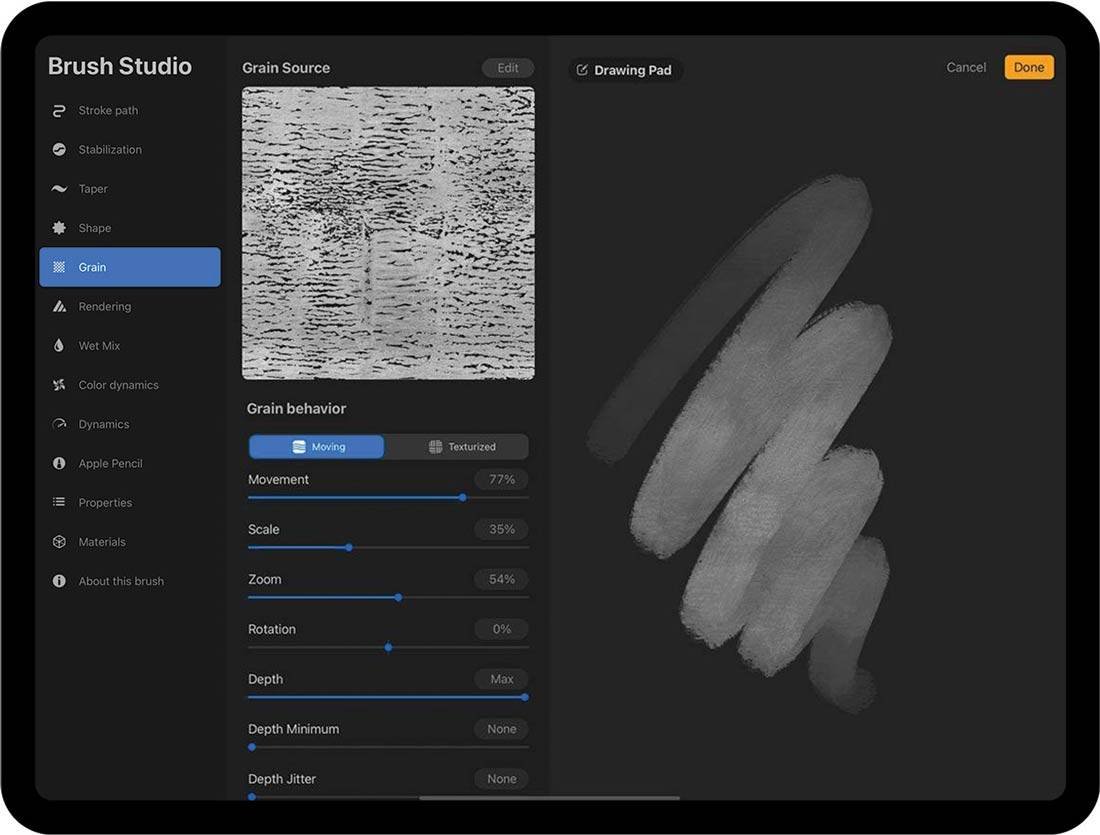
All of my brushes are found in Kyle Webster's brush packs with some minor setting changes. For all of them, I made a copy of the brush as a "New Brush Preset" by clicking the gear icon. When you do that, you need to uncheck "Capture Brush Size in Preset" and "Include Tool Settings". This way, you can use the same brush shape as an eraser, mixer brush, smudge tool, etc. You may have to turn on the brush pressure on manually when you do this.
Brush Functions


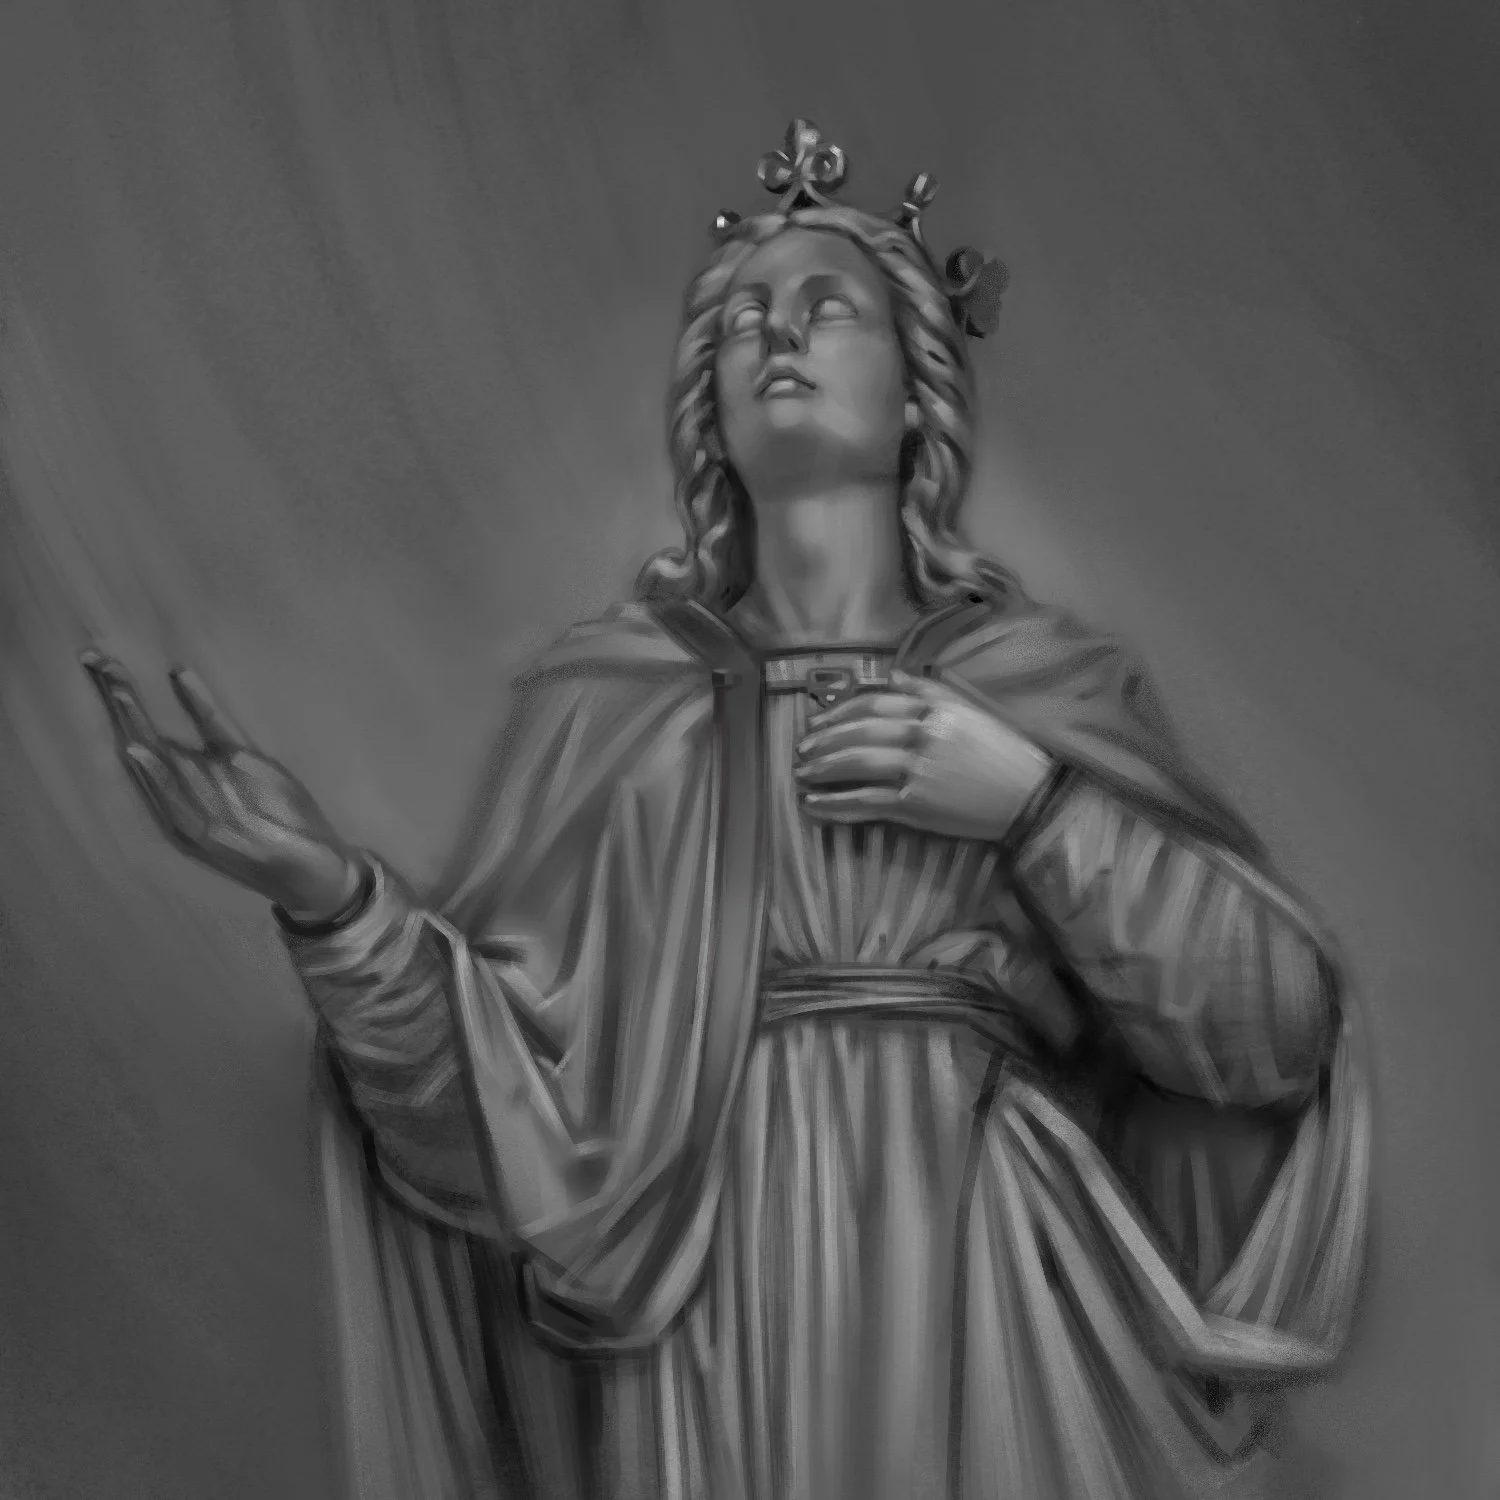
My brushes can be broken down into 3 functions, which are annotated in the above chipmunk with a, b, and c. These functions are:
soft, gradual shading (a), encompassed above by a soft circle
hard-edge "planar" shading (b), indicated with planar lines, like a 3D mesh
streaky, contour shading (c), represented above with arrows
My favorite brush, which is demonstrated in figure 1 below, covers all of the functions, but I still use a few selected brushes that specialize in 1 function:

The following corresponds with the figure number and functions from above:
Gouche Pastel- (a,b,c)
This is my favorite and most versatile brush for me. The brush is rectangular with a thick and a thin side of the virtual tip to let you shade large areas as well as draw details. There is also a defined edge to a rectangular brush that makes "planar" shading easier. Think of facets on a crystal. By defining planes on faces, fabric, and other objects, it helps create a sense of dimension.
For both the brushes in figures 1 and 2, the brush shades differently when you hold continuously vs picking up the Wacom pen and making repeated strokes. In the top left corner of figure 1 is a continuous stroke with increasing pen pressure that is smooth in texture. The top right of figure 1 shows separate strokes that build up a more grainy texture. I build up my shading with the grainy texture method.
I can't remember where this brush came from, but it might be from an earlier Megapack by Kyle Webster. It resembles oil pastel as well as some of the gouache brushes in current packs. I have it available for a free download below. Make sure that Shape Dynamics>Angle Jitter>Pen Tilt is on and that Size Jitter is off.
"Gouache Blair"- Gouache Pack (a)
This brush is a recent favorite that pairs well with the Gouache Pastel brush. The taper is much sharper, making this brush great for things like hair, fur, and rim light. It also works incredible well for foliage, capturing thin stems and tapering leaf shapes more fluidly than my Gouache Pastel brush.
"Shady Graphite 2"- Megapack (a)
This brush is used briefly in my overall process, but it's still great. I incorporated this brush as a substitute for the default soft round brush. The smoothness of the default round brush takes away some of the texture I want, so the subtle texture of Shady Graphite is preferable. I use it when I need large areas with a gradual change in value.
"Gouache Round Bristle"- Gouache Pack (c)
This is a lovely fluid brush similar to a dry brush with a round tip. This is great for hair, similar to Gouache Blair, but is better for larger clumps of hair or hair in action that is more impressionistic. I have also found it to be a great brush for fire and in some cases, fabric. "Gouache Bristle Super Dry" is from the same pack and I use it for the same applications.

Figure 5 an example of the Gouache Pastel Brush in use. I am using a shape layer for the ball to make it easier to paint inside the silhouette. I isolate shapes when I make complex compositions to help streamline my process. The drawback is that edges are too sharp and synthetic by default. I bring in a different set of Smudge brushes to create edge variation.

Figure 9 demonstrates 2 brushes used for similar hairy purposes. The left side is thick fur made with the Gouache Round Bristle brush. The right side is more volumetric hair painted with Gouache Blair. I will often combine these together for a more natural look as using Gouache Blair by itself is a little more stylized than my goal for semi-realism.

Figure 10 demonstrates how I might use the Gouache Blair Brush for foliage in addition to hair shown in Figure 9. Flowers and other plants have leaves and petals that can be simplified into 2-3 planes. They are made of simple shapes, but assembled together it can be quite detailed and overwhelming. Painting them in a planar method makes it possible to paint a field of flowers realistically without your hand falling off.
Mixer Brushes
Mixer Brushes are popular for digital painters and can be used in the same way as Smudge Brushes for solid pixels. The brush dynamics are different from Smudge Brushes and may take some fiddling with. I find the best use for Mixer brushes to be smooth, oily, and painterly styles. I don't use Mixer Brushes as much because the Smudge Brushes tackle both pixels on transparent areas as well as solid pixels. I also have been moving away from using the mixer brush for technique reasons since I want to keep my grainy under-layer visible as much as possible.

Figure 7 is example of using a Mixer Brush on an edge. Mixer Brushes need pixels to mix, so it will not work in the same way on pixels that border transparency. Instead, it pushes the pixels around and has a sharp edge. You can use the "Sample All Layers" feature to remedy this, but it will change the edge control of your shape if you are working with multiple layers and introduces lag on big canvases.
Smudge Tool
The Smudge tool is a misleading name for what functions more like a brush when using custom settings. The best way for me to describe it is that I use Mixer Brush more for "dragging" paint and Smudge Tool for "scrambling" in a controlled manner.


Figure 6 has the same shading as figure 5 but with edge variation and a brighter highlight. I am using the Smudge Tool with "Grit Smudge" Smudge Brush from Kyle's Drawing Box in the Megapack as well as the Dry Media pack. The "Basic Smudge" from the Dry Media Pack is also great for a more intense blurred edge. Grit Smudge does a good job of softening edges without completely losing the silhouette.

Figure 8 shows another Smudge Brush that I use, which is the Scraper found in the Dry Media pack. This example shows how it can be used for fine fur or hair, but it can also be used in fewer strokes to create edges with action lines.

The above example shows 2 different Smudge Brushes in action. Brackets with "1" indicate where I have used the "Grit Smudge" Smudge Brush to soften receding edges. Bracket "2" shows where I used the "Scraper" Smudge Brush to soften furry areas, which also have a few strokes of defined hairs on top made with the Gouache Blair Brush.

If you made it this far, congratulations! Reward yourself by gazing upon this Merfrog I have recently painted to celebrate the end of MerMay.

In other recent news, I have joined a new social media and portfolio platform called Cara, which is making the news headlines as one of the fasted growing Apps. Meta recently implemented new predatory AI-training policies (on top of shady data policies to begin with), prompting an exodus of artists to Cara. Cara is for human-made art only and is like a breath of fresh air knowing everything on your newsfeed is "real" and not plagiarized AI imagery. Cara is worth checking out and shows how much people value the protection of their creative works.